 Pin It
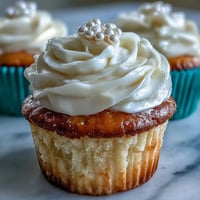
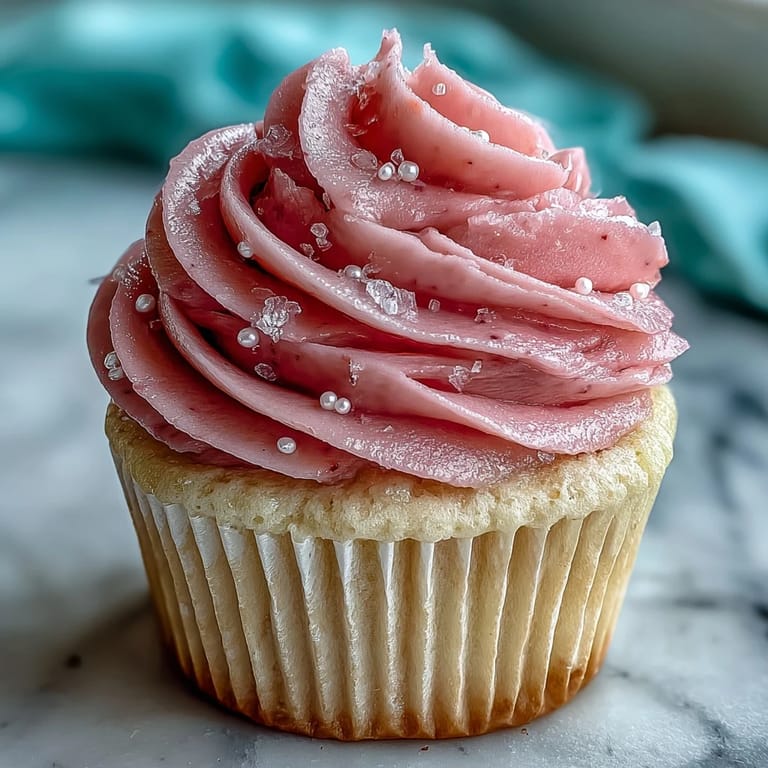
 The kitchen smelled like birthday mornings when I pulled the first batch of these from the oven. My niece had asked for something pink but not too sweet, and I'd spent the week testing shades of food coloring until I landed on this soft blush that reminded me of old Valentine cards. The tang from the buttermilk keeps them from tipping into candy territory, and the crumb is so tender it practically dissolves on your tongue. I piped the frosting in wobbly spirals that first time, laughing at how imperfect they looked. She said they were the prettiest cupcakes she'd ever seen.
I made these for a friend's baby shower on a muggy Saturday in July. The frosting started to slump in the heat, so I stuck the whole tray in the fridge between the punch bowl and a platter of sandwiches. When I brought them out, the cold buttercream had firmed up into perfect swoops, and everyone kept asking if I'd ordered them from a bakery. That's when I realized this recipe doesn't just taste good, it forgives you when things go sideways.
Ingredients
- Cake flour: This gives the cupcakes that signature velvety texture, but if you don't have it, the cornstarch trick works beautifully and I've used it more times than I can count.
- Buttermilk: The acidity tenderizes the crumb and adds a subtle tang that keeps the sweetness in check, and it should be room temperature or the batter will seize up.
- White vinegar: It reacts with the baking soda to create lift and also helps the pink color bloom without any off flavors.
- Pink gel food coloring: Gel is more concentrated than liquid, so you only need a dab, and it won't water down your batter.
- Unsalted butter: Room temperature butter creams beautifully with the sugar, creating air pockets that make the cupcakes light.
- Powdered sugar: Sifting it prevents lumps in the frosting, and I always keep extra on hand in case I need to thicken it up.
- Heavy cream: This makes the buttercream silky and pipeable, and you can add it a teaspoon at a time until the texture feels right.
Tired of Takeout? 🥡
Get 10 meals you can make faster than delivery arrives. Seriously.
One email. No spam. Unsubscribe anytime.
Instructions
- Prep the oven and pan:
- Set your oven to 350°F and line the muffin tin with paper liners so the cupcakes release easily and look bakery clean. I like to arrange the liners neatly before I start mixing so I'm not fumbling later.
- Combine the dry ingredients:
- Sift the flour, baking powder, baking soda, and salt together in a medium bowl, then whisk to distribute everything evenly. This step matters more than you'd think because it prevents pockets of leavening that can create weird air bubbles.
- Cream the butter and sugar:
- Beat the butter on medium speed until it's smooth and pale, then add the sugar gradually and keep beating for 2 to 3 minutes until the mixture looks fluffy and almost doubles in volume. The air you whip in now is what makes the cupcakes rise and stay tender.
- Add the egg and vanilla:
- Lightly beat the egg in a small bowl first, then drizzle it into the butter mixture on low speed so it doesn't scramble. Stir in the vanilla, and you'll start to smell that classic cake batter sweetness.
- Alternate the dry and wet ingredients:
- Add a third of the flour mixture, then half the buttermilk, then another third of the flour, the rest of the buttermilk, and finish with the remaining flour, mixing on low speed after each addition. Stop as soon as the flour disappears because overmixing makes the cupcakes tough and dense.
- Stir in the vinegar and coloring:
- Mix the vinegar and pink gel food coloring in a small cup, then pour it into the batter and blend on low until the color is even and the batter looks smooth. The vinegar will activate the baking soda, so you'll see tiny bubbles forming right away.
- Fill the liners:
- Use a spoon or small ice cream scoop to divide the batter evenly among the 12 liners, filling each about two thirds full. Tap the pan on the counter a couple of times to pop any big air bubbles hiding in the batter.
- Bake the cupcakes:
- Slide the pan into the oven and bake for 18 to 22 minutes, checking at 18 with a toothpick inserted into the center of one cupcake. If it comes out clean or with just a few moist crumbs, they're done.
- Cool completely:
- Let the cupcakes rest in the pan for 5 minutes so they firm up, then transfer them to a wire rack and let them cool all the way to room temperature. If you frost them while they're even slightly warm, the buttercream will melt into a puddle.
- Make the buttercream:
- Beat the room temperature butter on medium speed for about a minute until it's creamy, then add 2 cups of sifted powdered sugar on low speed and beat until smooth. Add the vanilla, cream, and a pinch of salt, then whip on medium high for 1 to 2 minutes until the frosting is light and fluffy, adding more sugar if it's too soft or more cream if it's too stiff.
- Frost and decorate:
- Transfer the buttercream to a piping bag fitted with your favorite tip or just use an offset spatula if you prefer a casual swirl. Pipe or spread the frosting onto each cooled cupcake, then finish with sprinkles, edible pearls, or pink sanding sugar if you want a little sparkle.
 Pin It
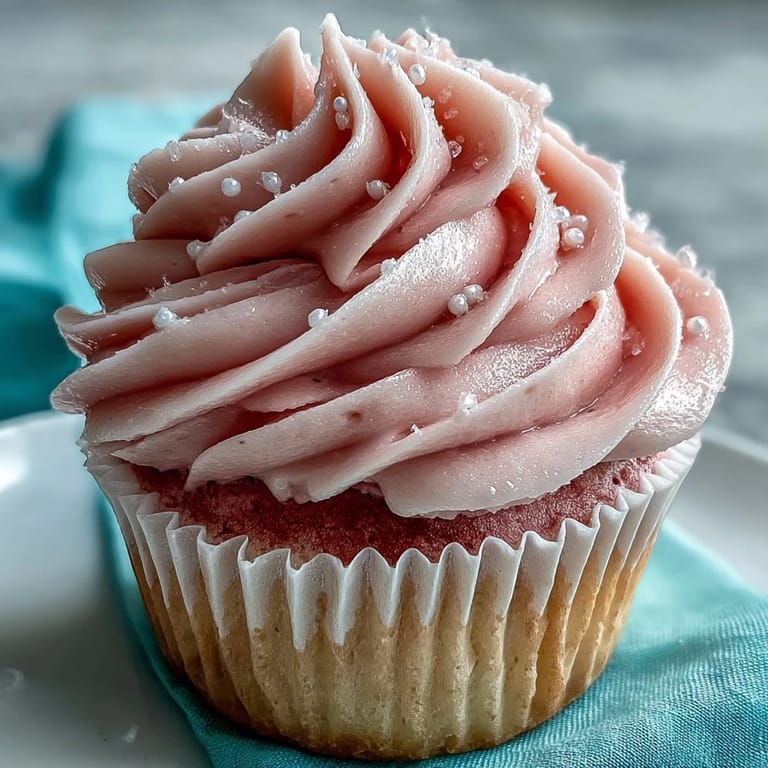
 The first time I brought these to a potluck, someone asked if they were strawberry flavored. I explained that the pink was just for looks, and she took a bite and said it tasted like happiness with a little bit of nostalgia mixed in. That's when I realized these cupcakes don't need a flavor gimmick because the texture and the color do all the talking. They're proof that sometimes the simplest idea, done carefully, becomes the thing people remember most.
Storage and Make Ahead Tips
These cupcakes stay soft and moist in an airtight container at room temperature for up to 2 days, and I've found they're actually even better on day two when the flavors have settled. If your kitchen is warm, tuck them in the fridge to keep the frosting from melting, but let them sit out for 20 minutes before serving so the buttercream softens. You can bake the cupcakes a day ahead and store them unfrosted in a sealed container, then whip up the buttercream and pipe it right before you need them. The frosting itself can be made up to 3 days in advance and kept in the fridge, then brought to room temperature and re whipped until fluffy.
Customizing Your Cupcakes
I've swapped out the vanilla extract for almond or rosewater depending on the occasion, and both versions were a hit. If you want a natural pink color, beet powder works surprisingly well and adds a barely there earthiness that complements the tang. For a richer frosting, replace the heavy cream with sour cream or cream cheese, though you'll need to adjust the powdered sugar to keep it firm enough to pipe. You can also tint the frosting a deeper pink, leave it white, or even swirl in a second color for an ombre effect that looks fancy but takes no extra skill.
Troubleshooting Common Issues
If your cupcakes turn out dense, you probably overmixed the batter after adding the flour, which develops too much gluten and makes them tough. If they sink in the middle, the oven temperature might be too low or you opened the door too early, so invest in an oven thermometer and resist peeking until the timer goes off. If the frosting is too soft to pipe, add more powdered sugar a quarter cup at a time, and if it's too stiff, thin it with cream one teaspoon at a time. The color can look uneven if the food coloring isn't fully mixed in, so make sure to scrape down the bowl and blend until the batter is uniform.
- Always sift your powdered sugar to avoid lumps in the buttercream.
- Use gel food coloring instead of liquid for a more vibrant hue without thinning the batter.
- If you don't have buttermilk, add 2 teaspoons of lemon juice or white vinegar to regular milk and let it sit for 5 minutes.
 Pin It
 These cupcakes have become my go to whenever I need something that feels special without being fussy. They're forgiving, they're pretty, and they make people smile before they even take a bite.
Recipe FAQs
- → What makes pink velvet different from red velvet?
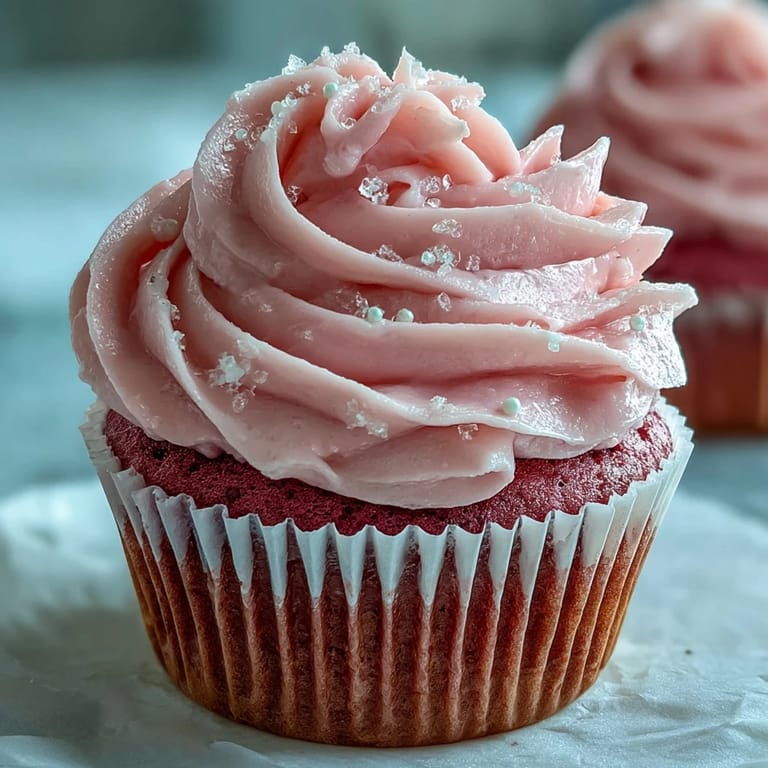
Pink velvet skips the cocoa powder found in traditional red velvet, resulting in a lighter, more delicate vanilla flavor. The pink hue comes from food coloring rather than the natural reaction between cocoa and buttermilk that creates red velvet's signature color.
- → Can I make these cupcakes ahead of time?
Yes! Bake the cupcakes up to 24 hours in advance and store them unfrosted in an airtight container. Frost them shortly before serving for the freshest taste and texture. Frosted cupcakes stay fresh at room temperature for up to 2 days.
- → How do I achieve the perfect pink color?
Start with a small amount of pink gel food coloring and gradually add more until you reach your desired shade. Gel coloring provides vibrant color without thinning the batter. For a natural alternative, use beet powder though the result will be a softer, more muted pink.
- → Why is buttermilk essential in this recipe?
Buttermilk's acidity activates the baking soda for proper rise while creating an exceptionally tender crumb. The tanginess also balances the sweet buttercream perfectly. If you don't have buttermilk, mix regular milk with white vinegar and let it sit for 5 minutes.
- → What piping tip works best for the buttercream swirl?
A large open star tip (like Wilton 1M or 2D) creates that classic bakery-style swirl. Start piping from the outer edge and work inward in a circular motion, building height as you reach the center for a beautiful rose-like finish.